Part 4a - Securing SSH (Windows Systems)
SSH provides an authentication option that utilises an RSA public / private key pair. This allows you to lock your node, to only be accessible via SSH by use of the private key, preventing all password-based access. While this provides an additional level of security when accessing your node remotely, care should be taken to prevent locking yourself out of your node. If you already have an existing SSH RSA public / private key pair, you may choose to use that key pair to access your node. If you are at all unsure, please ask within Discord, or via a zenhelp ticket before proceeding with these steps.
**THIS IS A DELIBERATELY BOLD AND RED WARNING - ENSURE YOU UNDERSTAND WHAT YOU ARE DOING BEFORE PROCEEDING - PLEASE READ THE TEXT BELOW THIS WARNING BEFORE CONTINUING**
**ENSURE you OPEN A SECOND TERMINAL SESSION (FROM STEP 10) on your local machine and are logged into your node with BOTH terminal sessions while following these steps**

NOTE: This page only applies to PuTTY terminals on Windows 7 64-bit and newer, for Mac OS and Linux users see:
| Description | Command | |
|---|---|---|
Generate an SSH key-pair - steps 4 - 7, 10 - 13 are performed on your local machine, not your node | ||
| 1 | Steps 1 - 13 are a pre-requisite for securing SSH in steps 15 and 16 below, the intention is to generate an RSA key pair in order to turn off password access via SSH. Ensure you are still logged in with your first session (opened in Part 2) A second terminal will be used after step 10 | |
On your node | ||
| 2 | Create a .ssh directory and inside that directory an authorized_keys file | mkdir -p ~/.ssh; touch ~/.ssh/authorized_keys; chmod 700 ~/.ssh |
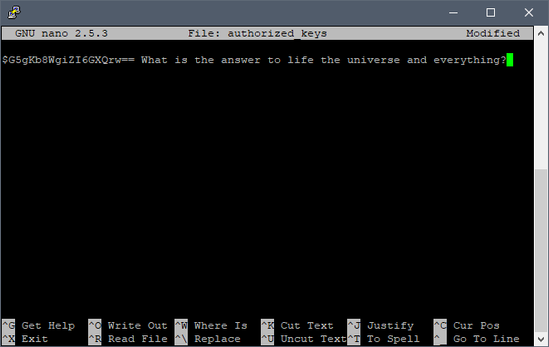
| 3 | Edit the authorized_keys file using nano NOTE: Minimize this terminal and proceed with the following steps | nano ~/.ssh/authorized_keys |
On Your Local Machine | ||
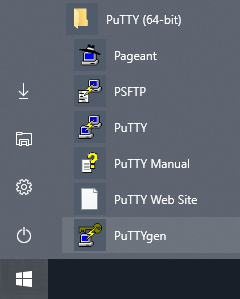
| 4 | Launch PuTTYgen by navigating to PuTTY (64-Bit) folder under applications in your start menu, or if on Windows 10, click start and type puttygen |
|
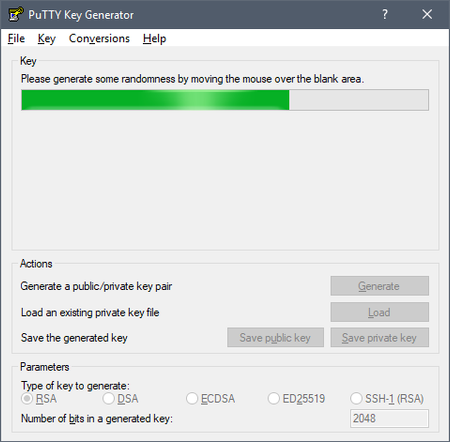
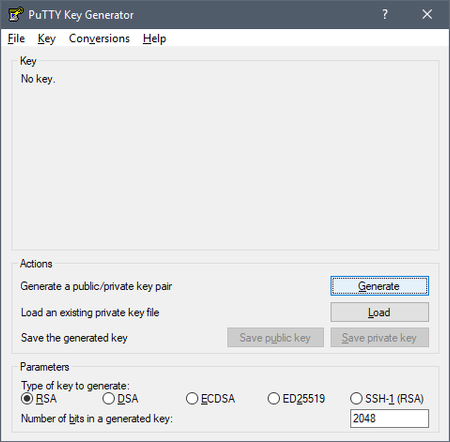
| 5 | NOTE: If you already have an existing key used for other nodes, click "Load" and navigate to your ".ppk" file, open it and enter the password to load the public key, then skip to step 7 to continue NOTE: If you DO NOT have an existing key, continue with the following Under "Parameters", select RSA and in the field "Number of bits" enter 2048.
|
|
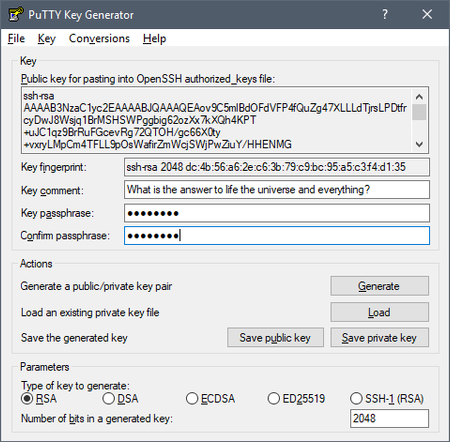
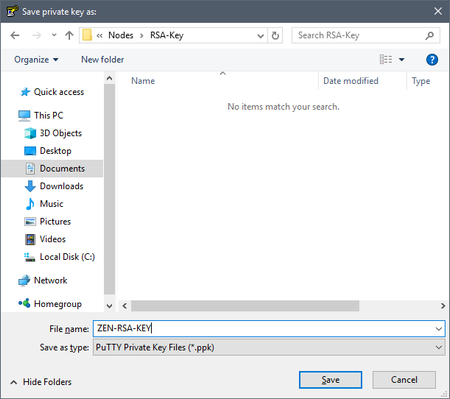
| 6 | Create a unique "Key comment" and a strong "Key passphrase" and re-enter to "Confirm passphrase". DO NOT LOSE THIS PASSWORD, IT SHOULD NOT BE THE SAME AS THE USER PASSWORD! Click "Save private key" and store the ".ppk" file in a secure location, such as an encrypted thumb drive |
|
| 7 | Right click the key text in the box labeled: "Public key for pasting into OpenSSH authorized_keys file" Click "Select All" Right click the key text again and select "Copy" |
|
On your node | ||
| 8 | Go back to your PuTTY terminal minimized in step 3 Paste the Public key copied above into PuTTY terminal by right clicking into an open space inside the window Save and exit by hitting Ctrl+X, type y, then hit enter |
|
| 9 | Update the file's permissions NOTE: Minimize this terminal and proceed with the following steps Keep this terminal running in the background for the rest of this page | chmod 600 ~/.ssh/authorized_keys |
On Your Local Machine | ||
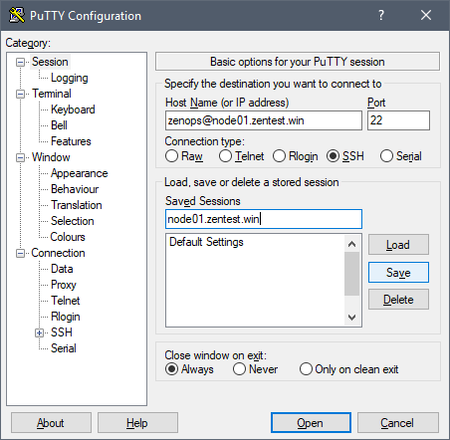
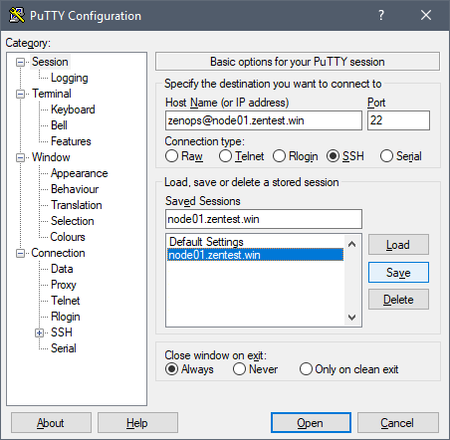
| 10 | Launch PuTTY for a SECOND TERMINAL WINDOW and enter the <USER>@<FQDN> into the "Host Name" field
|
|
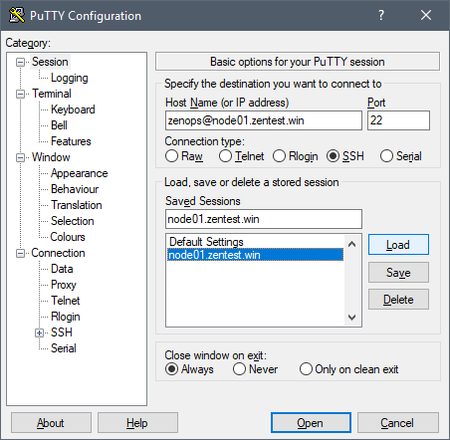
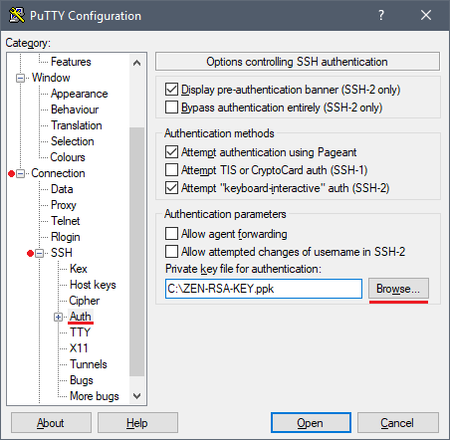
| 11 | Load your saved session created in step 10 and load your private key into the session
|
|
| 12 | Save changes made to your session from step 11
|
|
| 13 | Enter your password for the key created in step 4, you will notice it will display the "Key comment" made in step 4 If you do not see the "Key comment", go back and re-check your work Repeat the login in steps 12 and 13 as many times as necessary to be confident that you are logging in without a USER password, instead using the RSA key password. Failure to complete this step will result in locking yourself out of your node. | |
On your node | ||
| 14 | NOTE: Proceed with steps 15 and 16 ONLY if you have established key-based login to your node AND TESTED YOU CAN ACCESS WITH THE RSA KEY PASSWORD (NOT THE USER PASSWORD) | |
| 15 | Edit sshd_config to secure the SSH daemon NOTE: The RSA Key password is only used to login to your node, all other password prompts will require your non-root user password | Copy and paste the entire block sudo sed -i '/PermitRootLogin/d' /etc/ssh/sshd_config && \ sudo sed -i '/PasswordAuthentication/d' /etc/ssh/sshd_config && \ sudo sed -i '/ChallengeResponseAuthentication/d' /etc/ssh/sshd_config && \ echo -e "PermitRootLogin no\nPasswordAuthentication no\nChallengeResponseAuthentication no" | sudo tee -a /etc/ssh/sshd_config |
| 16 | Restart SSH with the new configuration | sudo systemctl restart sshd |

![]()
![]()
![]()
![]()
![]()
© 2020 Horizen. All rights reserved.